
Tutorial: Hello World Canvas
Let's build a simple Zaplib application that draws "Hello, World!" on the screen.
First we create a Cargo.toml file with the Zaplib dependency:
[package]
name = "tutorial_hello_world_canvas"
version = "0.0.1"
edition = "2021"

[dependencies]
zaplib = { path="../../main" }
In src/main.rs, we need to define a main app to draw from:
#[derive(Default)]
struct App {
}

impl App {
    fn new(cx: &mut Cx) -> Self {
        Self::default()
    }

    fn handle(&mut self, cx: &mut Cx, event: &mut Event) {
    }

    fn draw(&mut self, cx: &mut Cx) {
    }
}

main_app!(App);
Just like in Tutorial: Hello World Console, the App implements 3 main functions: new, handle, and draw. Next we create a window with some text in the draw function:
    fn draw(&mut self, cx: &mut Cx) {
        self.window.begin_window(cx);
        self.pass.begin_pass(cx, Vec4::color("0"));
        self.view.begin_view(cx, LayoutSize::FILL);

        cx.begin_padding_box(Padding::vh(50., 50.));
        TextIns::draw_walk(cx, "Hello, World!", &TextInsProps::default());
        cx.end_padding_box();

        self.view.end_view(cx);
        self.pass.end_pass(cx);
        self.window.end_window(cx);
    }
windowrefers to the main desktop or browser window.passrefers to our rendering context. We specify a black background — we can use any hex color here.viewrefers to our layout. We provide aFILLlayout, which translates to 100% of the available width and height.begin_padding_boxadds a padding so that text doesn't overlap with the native window buttons.TextInsis Zaplib's implementation for text rendering. We pass in our desired string and any formatting properties. We'll stick with default formatting for now.
Add the relevant state to App:
#[derive(Default)]
struct App {
    window: Window,
    pass: Pass,
    view: View,
}
You can run this full example with Cargo:
cargo run -p tutorial_hello_world_canvas
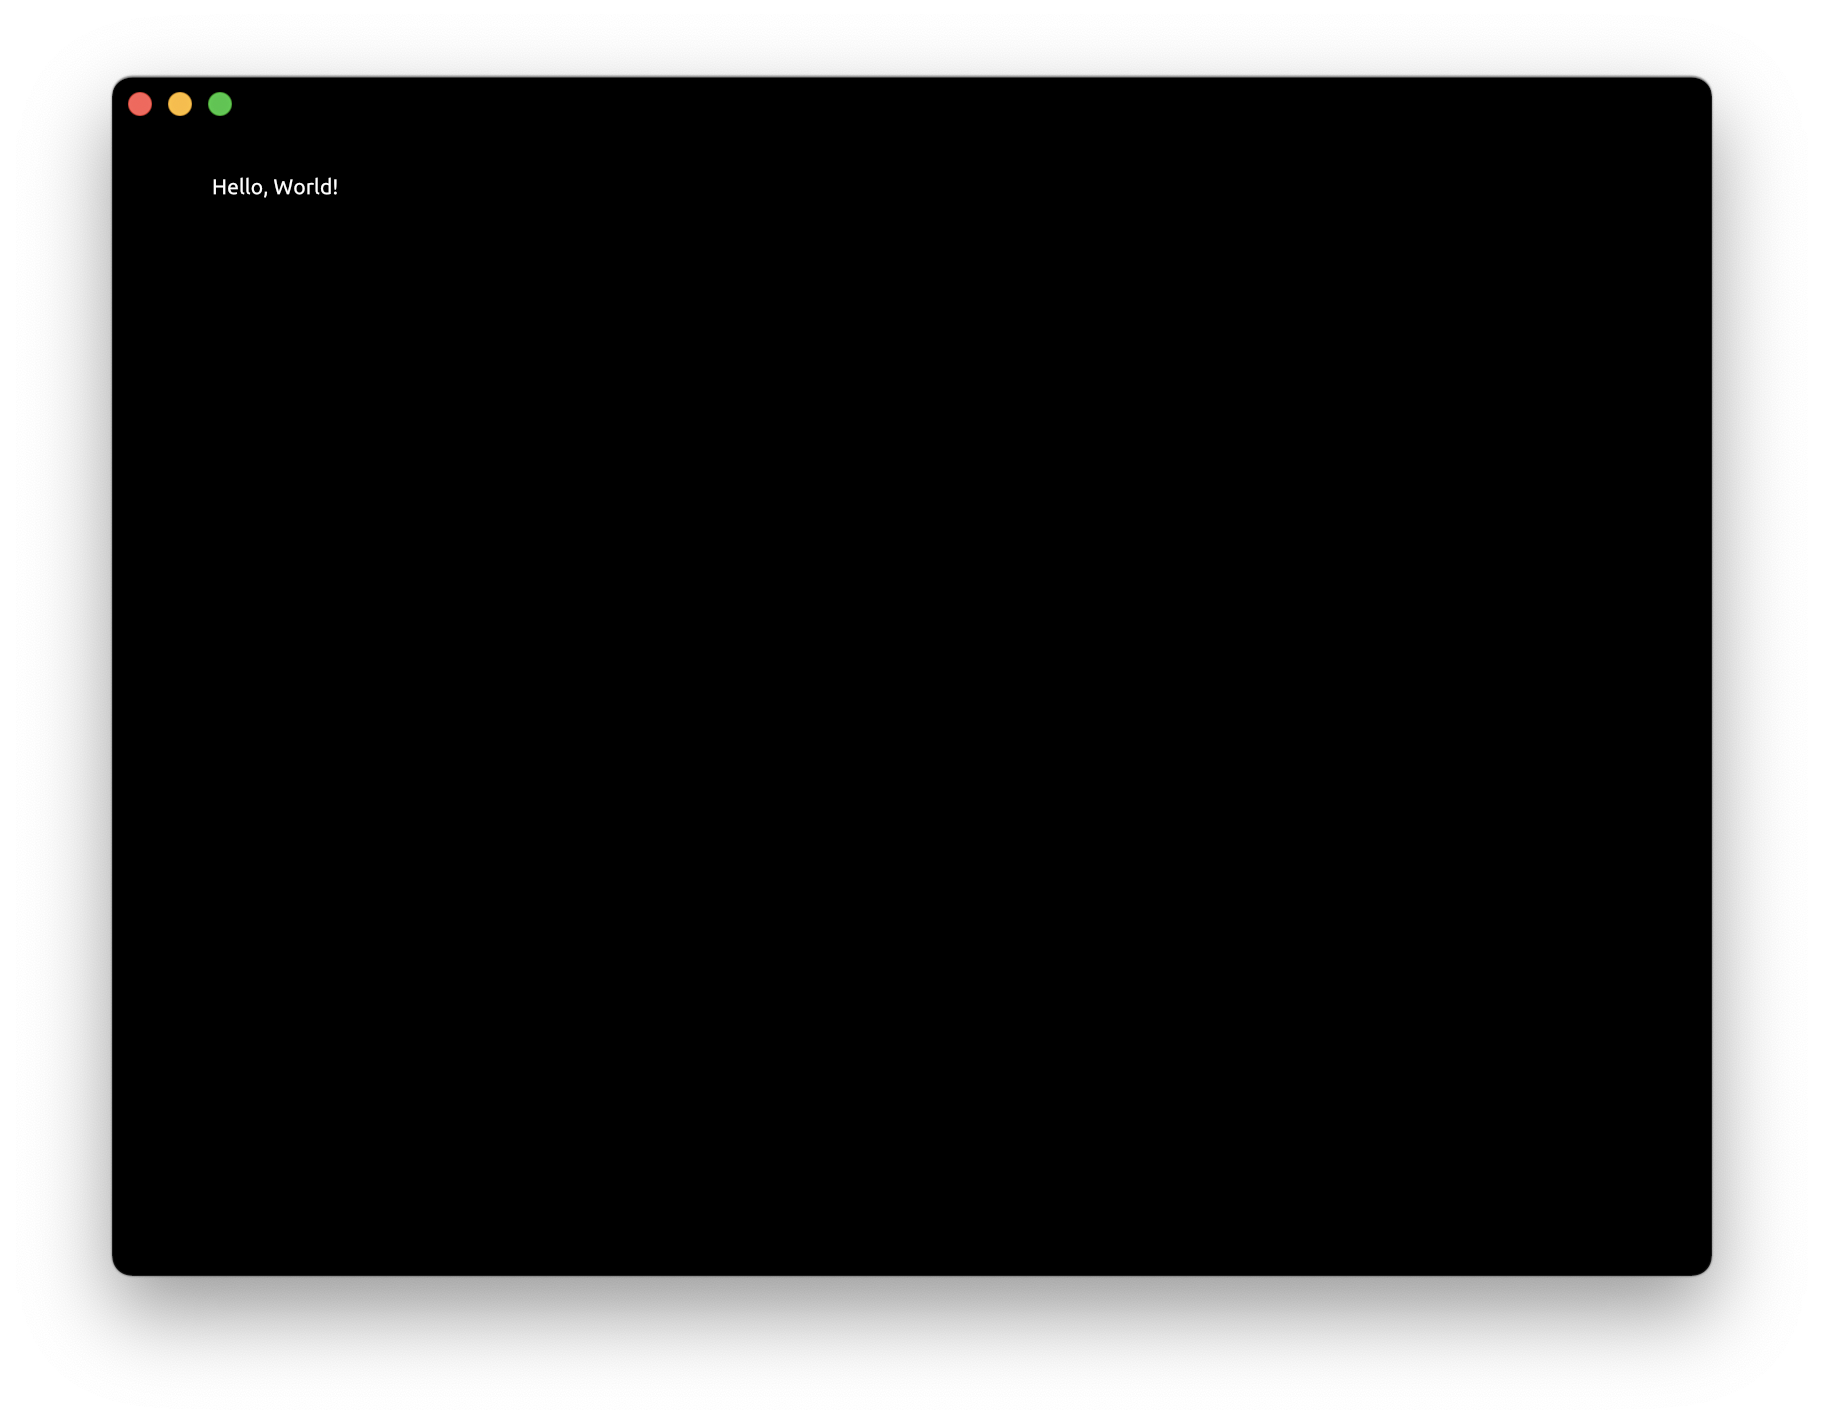
Congratulations! You just did your first rendering in Zaplib. In the next tutorial we will cover how to do 2D rendering.